
So while I’m waiting for access to another 3D printer to create my own I’ve been trying to find things I can accomplish on my own. Part of me doesn’t want to build too much so I’ll have stuff to work on while my parts are being printed at Squidfoo. The other part of me is impatient as all hell and ready to run.
The impatient part is currently winning out.
I’ve added two more items to the BOM that I went ahead and ordered today. Two push fit adapters and a PTFE line to guide my plastic filament from my extruder to my hot end. I picked up both at http://www.tridprinting.com/Hot-Ends. The owner of that site is frequently on the Delta forum and seems to be pretty good at adapting to what’s happening on the scene. I ordered earlier today ( a Saturday) and I’ve already gotten a tracking number. It won’t go out until Monday but it’s good to see he’s on the ball.
Speaking of shipping… After a 5 week wait from the day I ordered I FINALLY got my Azteeg X3 controller board. Yay!
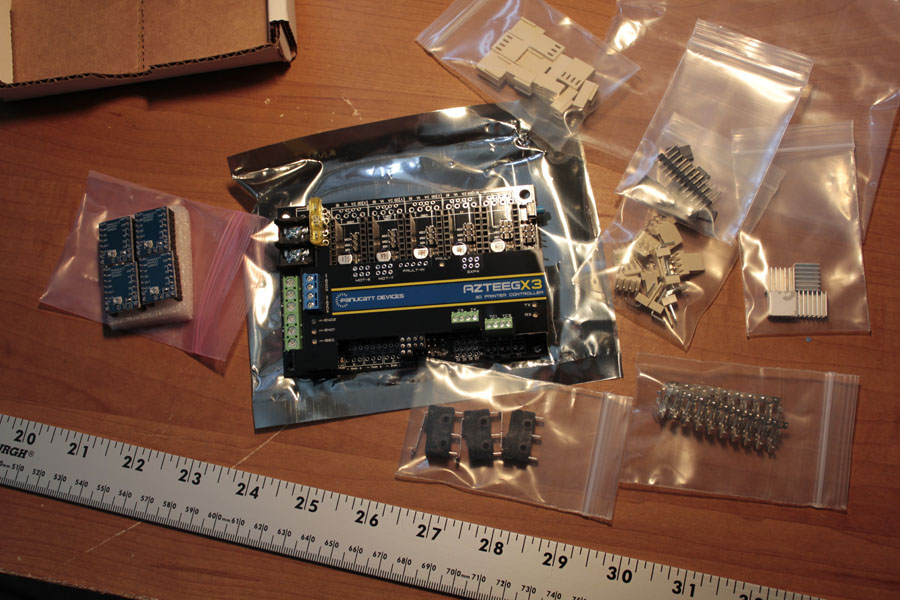
Everything that was stuffed into the box from Panucatt Devices I’ve been waiting on!
I REALLY wish I could hook it up and try it out but I’m kind of afraid of it at this point… I’ve been waiting for it for so long I’m afraid to do anything that might mess it up and have to wait again for another one.
The quality of the thing seems really nice. It’s well designed and looks good.
Just to test out assembly (and because I’m impatient) I went ahead and soldered on the 5 connectors for the Stepper Motor controls. I’ll only be using 4 of them for my build but it can’t hurt to have the 5th on.
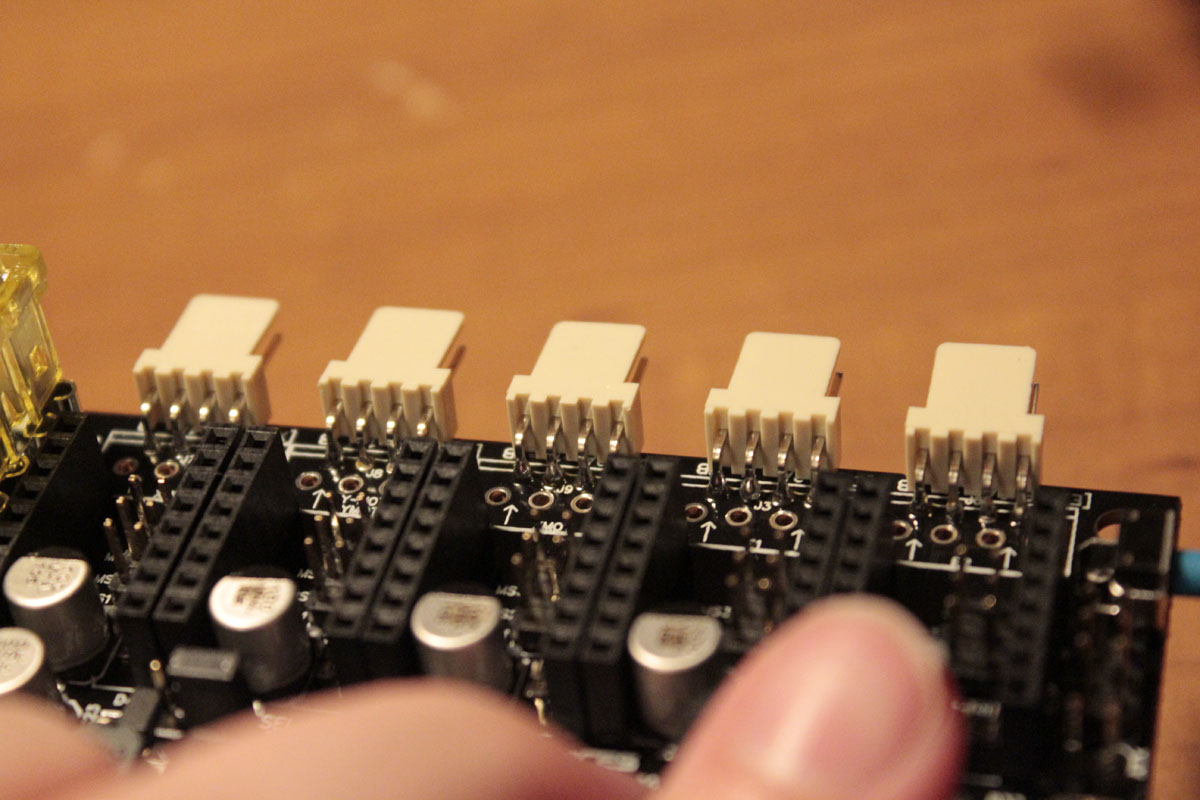
All 5 stepper connectors soldered in and ready to go!
I’ve documented everything I’ve done so far on that, so when the times comes, I’ll make a whole post dedicated to the process. The same with the Effector Arms. I caved and cut the carbon fiber tubes down to length and sanded the edges down to about 3mm so they’ll fit inside the Traxxas rod ends. My method proves that anyone can make these things without the need for fancy equipment. If you’ve got a power drill, a small hand saw, and some sandpaper you can make the rod ends. There’s nothing glamorous about my method but it’s worked so far.
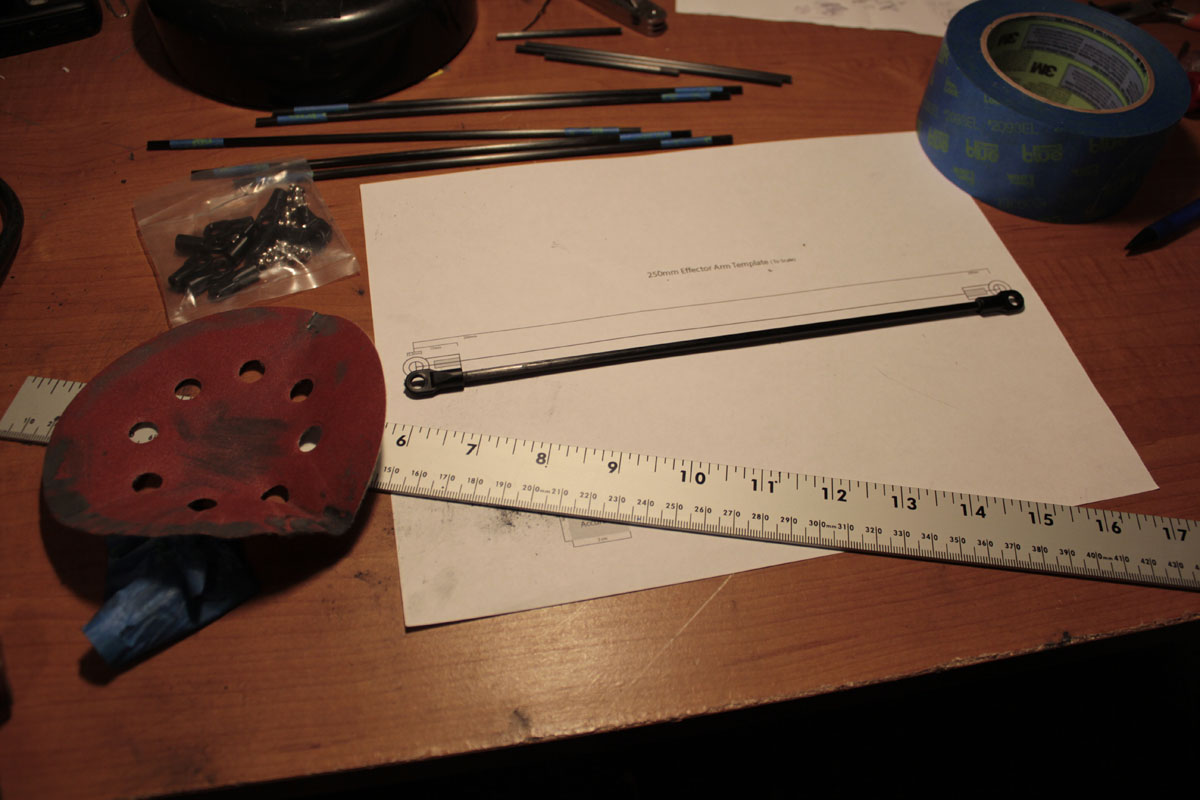
One arm, out of six, ready to be glued together.
Again, when I finish making the arms, I’ll make a post showing my whole process. It’s fairly time consuming but not terribly difficult. At this point I’m holding off on gluing the rod ends to the arms because I don’t feel confident I can make them as precisely as they need to be. I’ve made a nice template (what the arm is sitting on in the picture) but I don’t trust myself enough to make a jig that will result in a precise arm. People who are more confident in their drilling skill could just use the template to drill two screws into a board, stick one rod end on each and glue the tube in between them. That does work, I’ve seen others do it with good results.
Me? I’m going to use this.
http://www.thingiverse.com/thing:37306 This is part of a jig made specifically for this purpose by Thingiverse user GoopyPlastic. He even has a video of his process for making it work. This will be one of the first things I print when I get access to a printer. Pretty good idea if you ask me.
In the meantime I’ll keep digging around for more info and seeing what I can do now to speed things along. As always, if you have comments or questions leave them below in the comments section or hit me up on G+. There’s a link to my profile at the bottom of this page somewhere. Have fun!
Leave a Reply
You must be logged in to post a comment.